

Acrylic Tapping & Solvent Bonding: Assembly DFM Reference
Design Challenge Overview
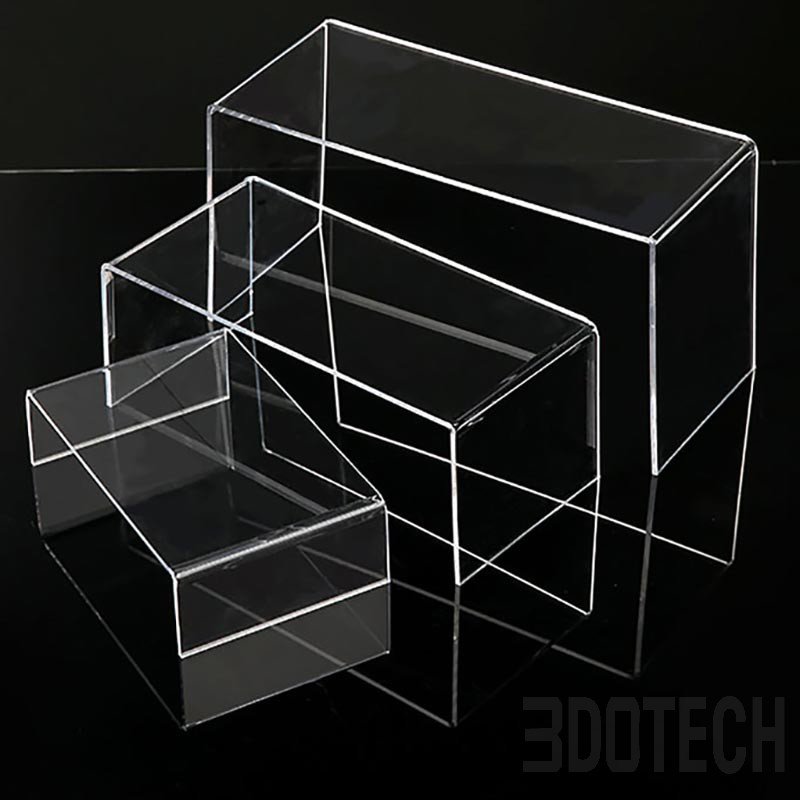
Joining and assembly are critical stages in acrylic component manufacturing that directly impact structural integrity, aesthetic quality and long-term reliability. Whether the application requires detachable mechanical connections through threaded fasteners or permanent high-strength bonds for display cases and enclosures, selecting the right joining method — and designing for it from the start — prevents common failure modes such as stress cracking, bond line visibility and thread stripping.
This reference covers two complementary acrylic assembly methods: thread tapping for reusable mechanical fastening and solvent bonding for permanent high-strength joints. Understanding their process principles, design constraints and quality control requirements helps engineers specify the right joining strategy at the design stage, ensuring both functional performance and manufacturing feasibility. Drawing on extensive fabrication experience, 3DOTECH engineering teams regularly encounter these challenges and have developed optimized parameter sets for each process.
DFM Optimization Guidelines
1. Thread Tapping Process
Acrylic tapping is the key process for enabling detachable mechanical connections. The process starts with drilling an appropriately sized pilot hole (UNC coarse threads are preferred to reduce stress cracking risk), followed by low-speed cutting with dedicated tapping tools. CNC synchronized tapping operates at 3000–5000 RPM with feed strictly matched to thread pitch, with intermittent tool retraction for chip clearing and water-based cutting fluid for cooling and lubrication.
Key design and process details:
-
Thread range: M3–M8 is most widely used for acrylic applications
-
Thread profile optimization: Rounded transitions reduce stress concentration points
-
Countersink integration: Combined with countersink machining to hide screw heads and maintain a clean flat surface
-
Blind hole caution: Tap must never contact the hole bottom in blind hole applications
-
Thread types: Both through-hole and blind-hole threads possible on thicker materials
Thermal management note: Acrylic's weak thermal conductivity means continuous tapping easily builds up heat, causing tap seizing and hole wall cracking. Proper chip clearing and lubrication are essential. When correctly executed, threaded connections withstand repeated assembly and disassembly without splitting the material, making them ideal for automation equipment modules, detachable display components and instrument housing assemblies.
2. Solvent Bonding Process
Acrylic solvent bonding using dichloromethane-based adhesives is the optimal method for permanent joints. The solvent slightly dissolves the PMMA molecular chains at the mating surfaces, and after curing the joint mechanical strength approaches that of the base material itself. This creates nearly invisible bonds with excellent optical clarity — critical for display and aquarium applications.
Preparation and process requirements:
-
Surface preparation: Bonding surfaces must be CNC precision-ground with flatness error < 0.1mm, cleaned with lint-free cloth and degreaser
-
Masking: Non-bonding areas protected with masking tape to prevent adhesive corrosion and staining
-
Application method: Capillary wicking or needle micro-injection for precise glue placement
-
Curing timeline: Light pressure initial set in 15–20 minutes, basic strength after 24h room temperature cure
-
Pressure curing (aquarium grade): 0.3–0.5 MPa pressure curing at constant temperature for 72h, achieving joint strength of 18–22 MPa
Safety and quality note: Dichloromethane-based adhesives have volatility and toxicity — production facilities must be equipped with good local exhaust ventilation. After curing, low-temperature annealing eliminates bonding stress to prevent cracking from subsequent environmental changes. Applications include large aquarium tanks, sealed museum display cases and large-scale art installation segment bonding.
Key Specification Reference
DFM Best Practices & Support
-
For threaded connections, specify UNC coarse threads and adequate wall thickness around holes to distribute stress and prevent cracking.
-
For solvent-bonded joints requiring optical clarity, design self-aligning features and specify CNC-ground mating surfaces to ensure invisible bond lines.
-
Include annealing requirements in manufacturing specifications for both tapped and bonded parts to eliminate residual stress and improve long-term reliability.
-
For pressure-bearing applications like aquariums, specify pressure-cured solvent bonding and include appropriate safety factors in wall thickness calculations.
3DOTECH provides both threaded tapping and solvent bonding assembly services for custom acrylic components, from detachable mechanical assemblies to high-strength pressure-bonded display enclosures. Our engineering team can advise on the optimal joining method based on your structural requirements, aesthetic goals and service conditions. If you have an acrylic project requiring reliable assembly solutions, our team is ready to provide design guidance and prototype validation support to ensure strong, durable and visually clean joints.
More from the Acrylic Fabrication Series
After assembling your acrylic components, explore these other key fabrication processes:
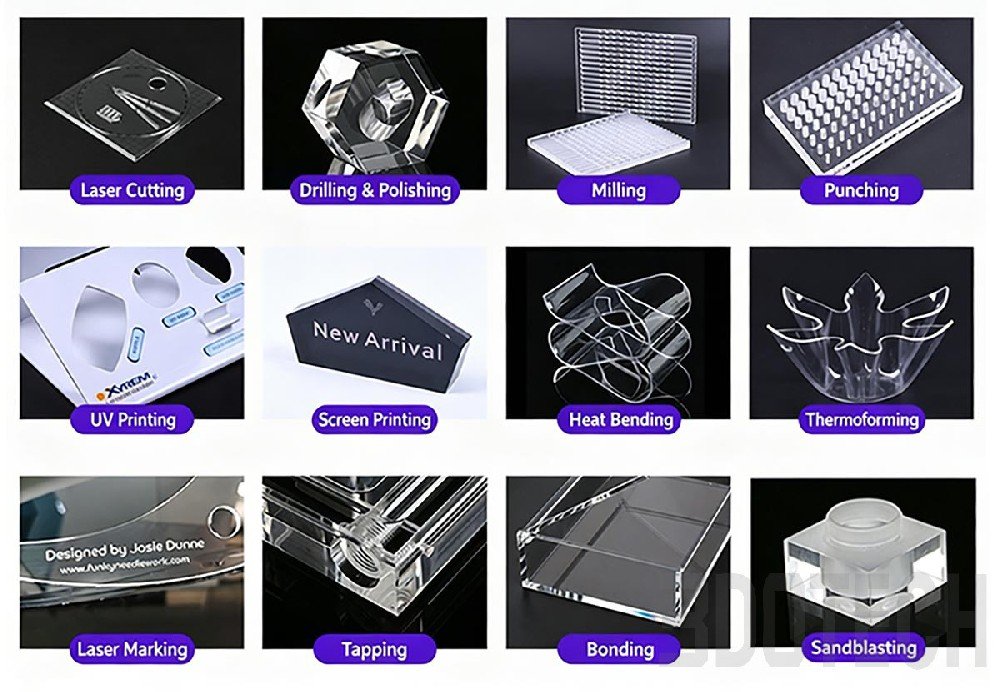
For precision cutting and detailed engraving, see Laser Cutting & Laser Engraving.
For premium edge finishes and surface textures, refer to Diamond Polishing & Sandblasting.
For precise machined features like holes and slots, explore CNC Milling & Precision Drilling.
For branding and decorative graphics, check out UV Printing & Screen Printing.
For 3D shapes and curved components, learn about Hot Bending & Vacuum Thermoforming.
For choosing the right base material, discover Cast vs. Extruded Acrylic Selection.
 Silicone Wall Thickness Design Principles
 Colors to Avoid in Custom Silicone Product Design
 Silicone Design Pitfall Guide Part 2: Uneven Wall Thickness
 5 Silicone Molding Processes
 Acrylic Tapping & Solvent Bonding: Assembly DFM Reference
 Acrylic CNC Milling & Precision Drilling: DFM Reference
 Acrylic Diamond Polishing & Sandblasting: Surface DFM
 Acrylic Laser Cutting & Engraving: DFM for OEM Designers
 Silicone Design Pitfall Guide Part 3: Missing Draft Angles