

Acrylic Laser Cutting & Engraving: DFM for OEM Designers
Design Challenge Overview
Laser processing is one of the most widely used fabrication methods for acrylic (PMMA) components, valued for its non-contact precision, clean edge quality and ability to produce complex geometries without tool wear. However, achieving consistent optical-grade results requires careful control of laser parameters, material selection and post-processing considerations — factors that are often underestimated at the design stage, leading to unexpected quality issues in production.
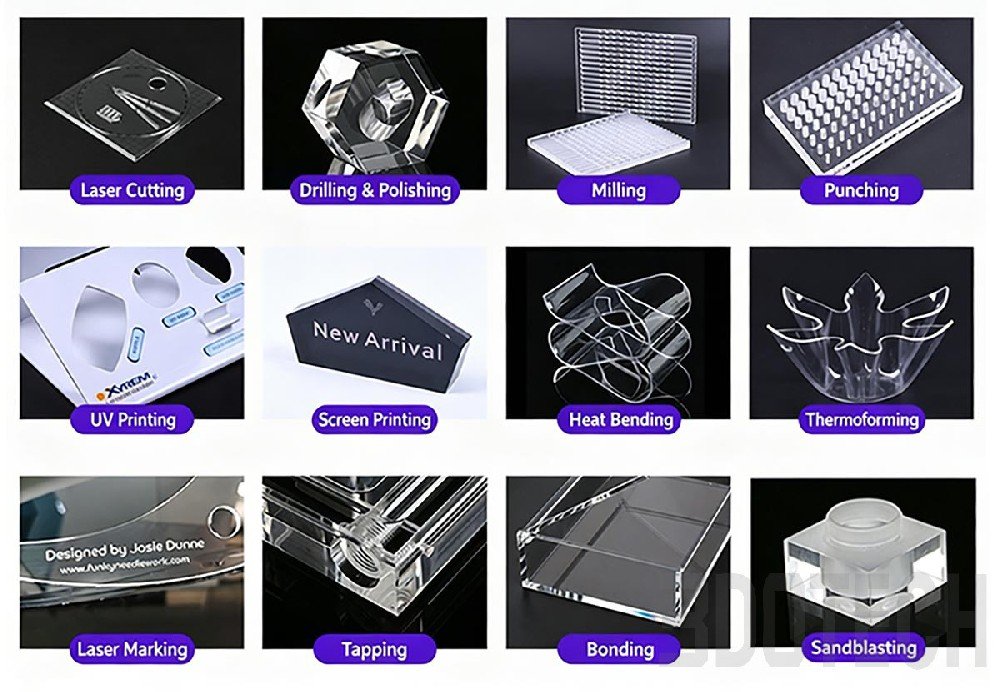
This reference covers two core laser processes for acrylic: laser cutting and laser engraving/marking, including equipment principles, key parameters, material compatibility and common pitfalls. Understanding these factors early in the design phase helps engineers optimize part geometry, select the right acrylic grade and avoid costly rework during prototyping and mass production. Drawing on extensive fabrication experience, 3DOTECH engineering teams regularly encounter these challenges and have developed optimized parameter sets for each process.

DFM Optimization Guidelines
1. Laser Cutting Process
Acrylic laser cutting relies on CO₂ infrared lasers with a wavelength of 10.6μm, which matches the molecular vibration frequency of PMMA extremely well — achieving material absorption rates above 95%. The high-energy beam instantly vaporizes and melts the processing area, while compressed airflow removes molten residue for non-contact precision cutting.
Key parameters by thickness:
Thin sheets: Gas pressure controlled at 0.4–0.6 MPa to prevent sheet displacement
Thick sheets: Gas pressure increased to 0.6–0.8 MPa for efficient slag removal
Crystal-edge effect: Disabling auxiliary gas allows the cut surface to naturally melt and crystallize, producing crystal-clear polished edges
Cutting precision: Up to ±0.05mm for well-calibrated systems
Material compatibility note: Laser cutting results are highly material-dependent. Extruded acrylic tends to show slight edge melting or adhesion during thermal cutting, with residual internal stress. Cast acrylic offers better thermal stability, producing cleaner, flatter cut edges. For sheets above 10mm thickness (typically cast grade), reduced feed speed, increased laser power and long-focal-length lenses are required, along with exhaust purification systems to handle processing fumes.
2. Laser Engraving & Marking
Acrylic laser marking falls into two categories: CO₂ infrared marking and 355nm UV cold laser marking. UV cold lasers produce minimal heat-affected zones, making them suitable for micron-level fine engraving on thin-walled precision parts. CO₂ lasers at 10.6μm create high-contrast permanent marks through controlled surface micro-melting.
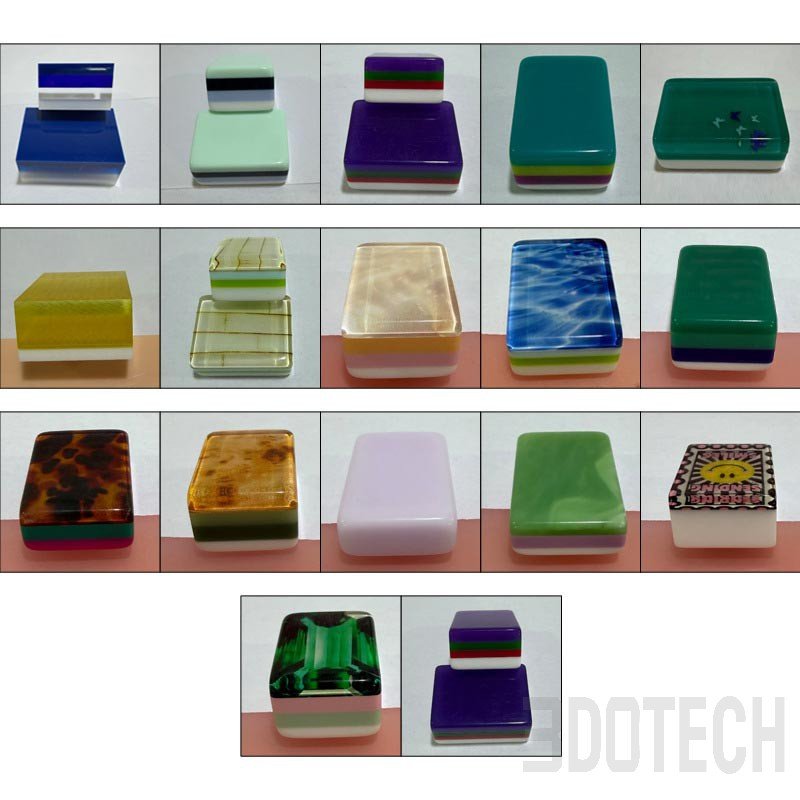
Material-dependent visual results: The appearance of laser marks is highly dependent on acrylic type. Cast acrylic produces bright white, high-contrast frosted marks with excellent aesthetics — the preferred choice for decorative and signage engraving. Extruded acrylic remains relatively transparent after marking, with much lower contrast. Typical CO₂ laser power settings range from 30–60W. Reverse engraving from the back side of the sheet keeps the front surface optically smooth and glossy.
Key Specification Reference
DFM Best Practices & Support
Specify acrylic grade early in design — cast vs. extruded significantly impacts laser cut edge quality and engraving contrast.
For thick sheets (10mm+), account for reduced feed speed and potential need for long-focal-length optics in production planning.
Design internal corners with minimum radius to avoid laser dwell points that cause localized overheating and melting.
For high-contrast engraving applications, specify cast acrylic and consider reverse engraving for a glossy front surface.
3DOTECH provides comprehensive laser processing services for custom acrylic components, including precision laser cutting, crystal-edge polishing and high-contrast laser marking. Our engineering team can review your design drawings to optimize geometry for laser manufacturability, recommend the appropriate acrylic grade and validate parameters before production. If you have an acrylic project requiring laser processing, our team is ready to provide DFM assessment and prototyping support.
More from the Acrylic Fabrication Series
After cutting and engraving your acrylic parts, explore these other fabrication processes to complete your project:
For premium edge finishes and surface textures, see Diamond Polishing & Sandblasting.
For precise machined features like holes and slots, refer to CNC Milling & Precision Drilling.
For strong, clean assembly methods, explore Tapping & Solvent Bonding.
For branding and decorative graphics, check out UV Printing & Screen Printing.
For 3D shapes and curved components, learn about Hot Bending & Vacuum Thermoforming.
For choosing the right base material, discover Cast vs. Extruded Acrylic Selection.
 Silicone Wall Thickness Design Principles
 Colors to Avoid in Custom Silicone Product Design
 Silicone Design Pitfall Guide Part 2: Uneven Wall Thickness
 5 Silicone Molding Processes
 Acrylic Tapping & Solvent Bonding: Assembly DFM Reference
 Acrylic CNC Milling & Precision Drilling: DFM Reference
 Acrylic Diamond Polishing & Sandblasting: Surface DFM
 Acrylic Laser Cutting & Engraving: DFM for OEM Designers
 Silicone Design Pitfall Guide Part 3: Missing Draft Angles